Step 1:
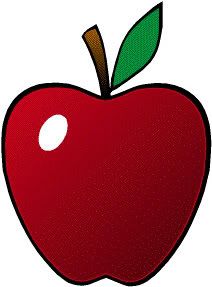
Find a simple image with a solid background. I used this.
Step 2:
Open image in PdN. I expanded my canvas size to 800x600 to allow for a better quality final result.
Step 3:

Go to Layers>Rotate / Zoom and zoom in on image until it fills about 75% of your canvas. At this point we are just trying to make the image big enough to fill most of our canvas. Image quality does not matter, considering we will be using the pixelate effect in the next step.
Step 4:
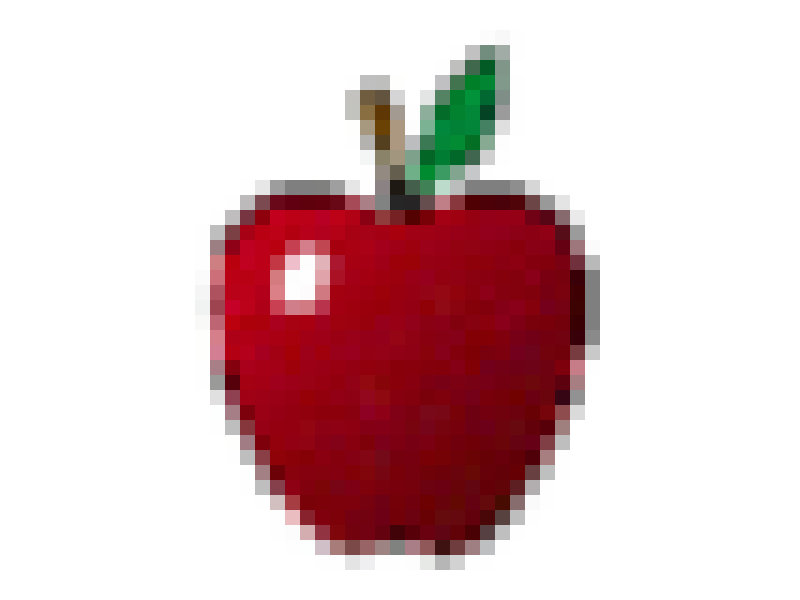
Pixelate to desired size of LiteBrite pegs. I used cell size=15. This is the recommended size if you are using dimensions that are the same as what I have listed so far.
Step 5:
We want background to be black or another dark color. So we will use the Paint Bucket tool (I used a tolerance level of 50%) and fill your image's background with black.
Step 6:
Create a new layer.
Step 7:
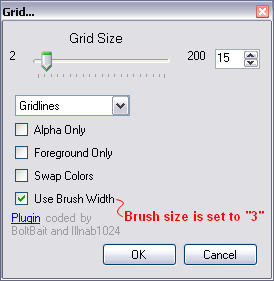
Make sure your Primary color is set to black and you secondary color to transparent. Now, use the Grid Maker effect on the newly created layer. I used the following settings (make sure your grid size matched the pixelation size).
*NOTE: Brush Width should be set to "3"*
Step 8:

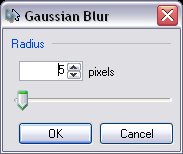
Gaussian Blur Grid layer.
Radius: 5px
Step 9:
Duplicate Grid Layer, Then use the "Merge Layer Down"* to combine the two Grid layers. This should make the blurred lines of the grid darker.
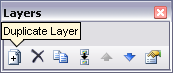
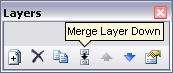 *
**only available with PdN 3.0 alpha 3+
Step 10:

Use the "Sharpen" effect on Grid layer a total of 3 times.
#1 Amount: 20
#2 Amount: 20
#3 Amount: 20
Step 11:
Using the Magic Wand tool (Tolerance: 0%), hold Ctrl+Shift and select the center of one of the grid cells. Now we have an active selection in the center of all the grid cells.
Step 12:
Switch to the layer with your image (mine is the apple) on it and copy(Ctrl+C) using the above selection.
Step 13:
Create new layer and change the blending mode to "Additive". Then paste(Ctrl+V) what you just copied from the main image(apple) layer onto this new layer.
Step 14:
Gaussian Blur new layer.
Radius: 3px
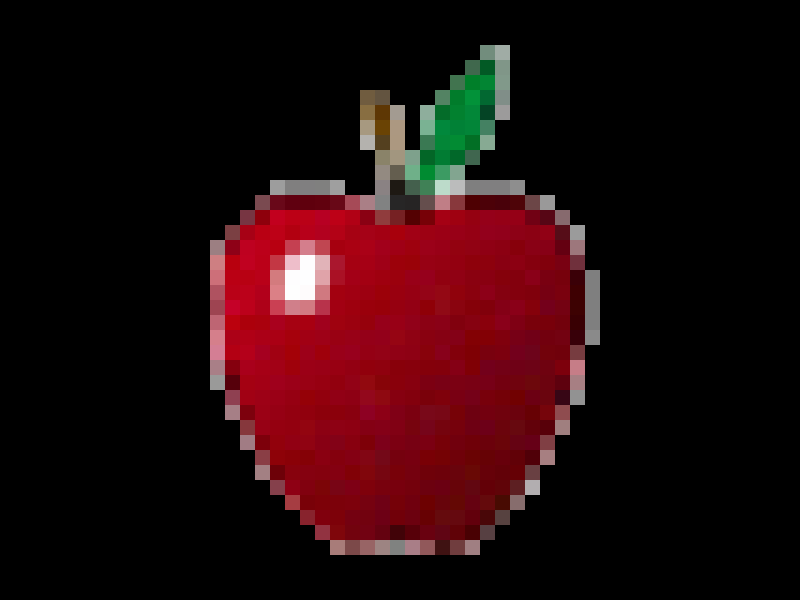
That's the basic idea. A little more tuning may give you something like this...
My Work:
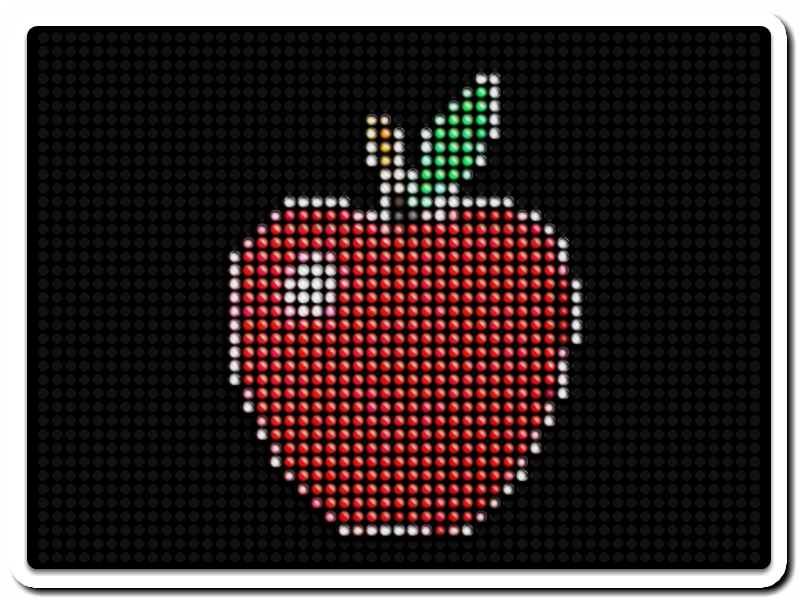
LiteBrite after following advanced steps and other modifications (I don't really remember it all). I also added a stupid little border.

No comments:
Post a Comment